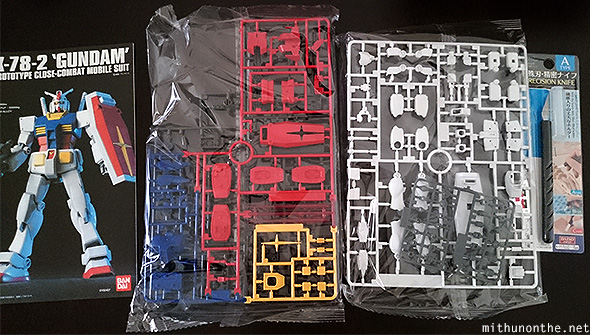

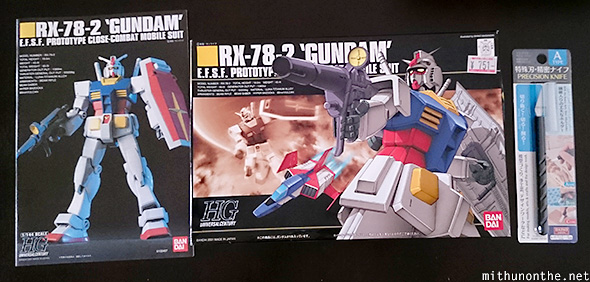
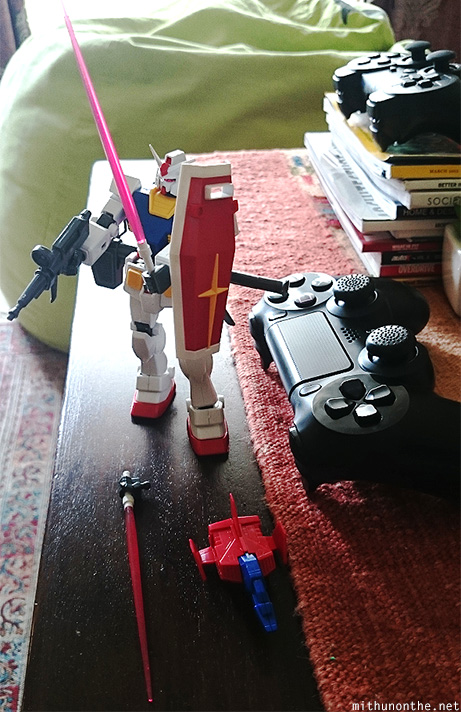
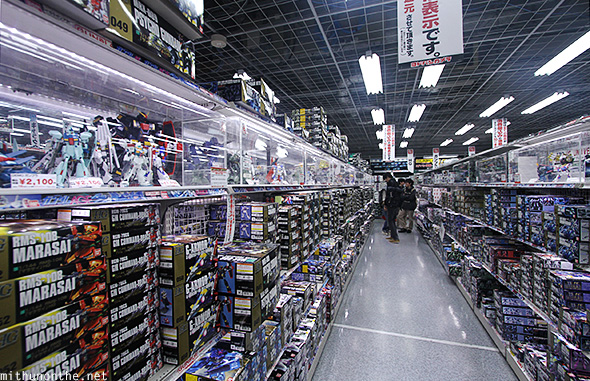
When I was in Japan, I knew there were certain things I had to buy from Tokyo before leaving. Gundam model kits — or ‘Gunpla‘ (Gundam+plastic) as they are also called — were definitely on my list. Considering Gunpla kits are mostly ‘imported’ elsewhere and thus have a high mark-up, buying the kits from Japan makes it fairly ‘cheap’. This was going to be the first time I was attempting to make a Gundam model figure, so I stuck to the basics for now and bought HG (High Grade) sets. (More on HG, RG, MG, and PG below). And so I came back to India with three Gunpla sets in tow. One for myself and two others for my brothers.

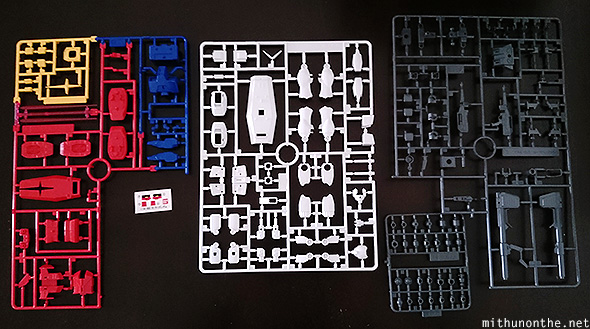
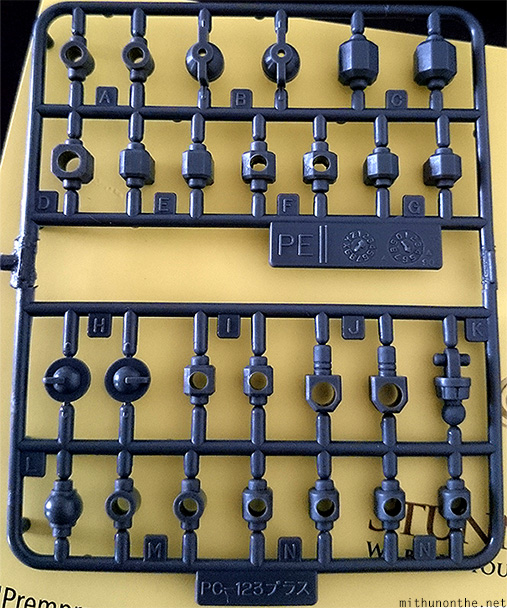
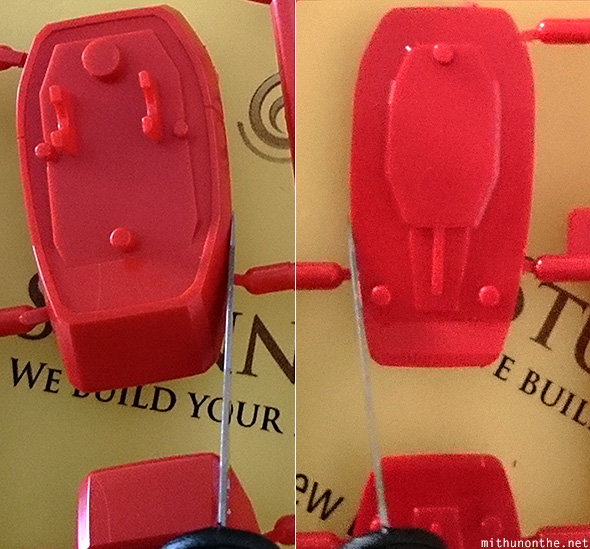
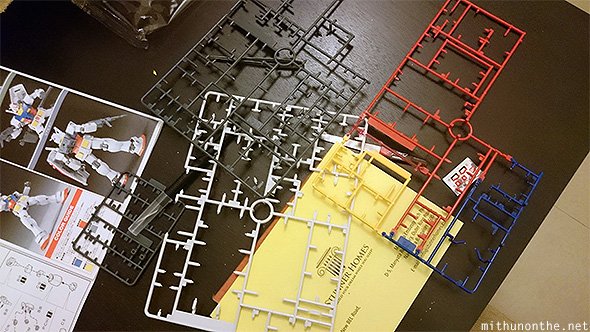
The runners are the sets which contain the various pieces that need to be cut out and pieced together to make various parts of the Gundam robot. The runners are also coded by alphabets.
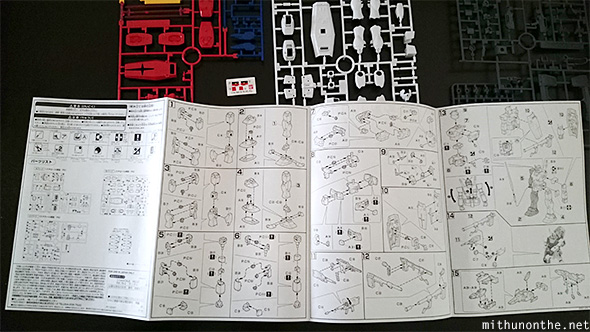
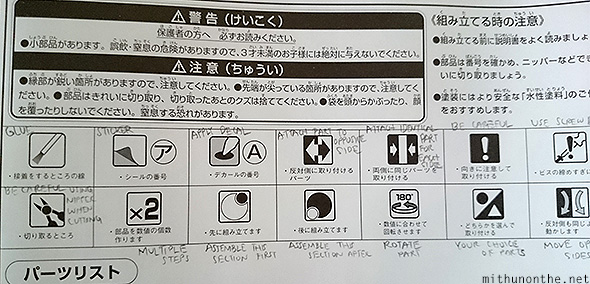
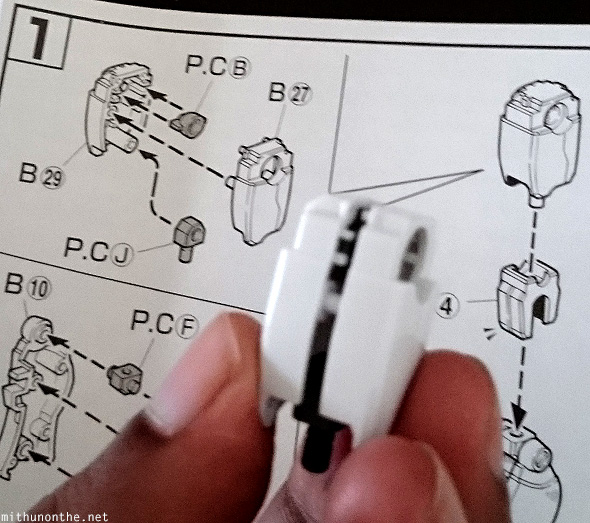
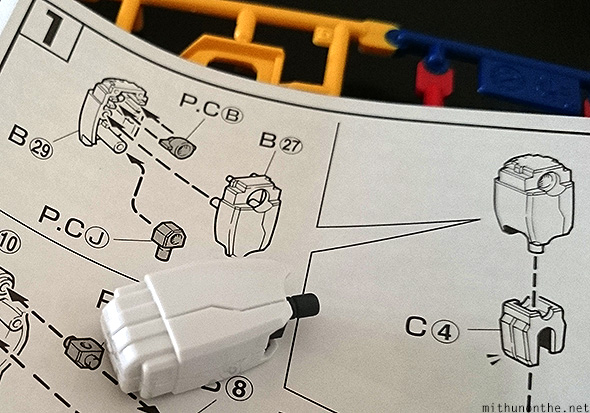
The instructions for assembling the individual pieces are easy enough to understand and use the ABCs and numbers.

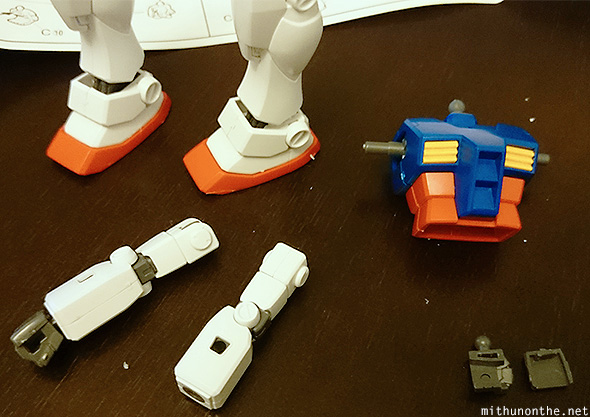
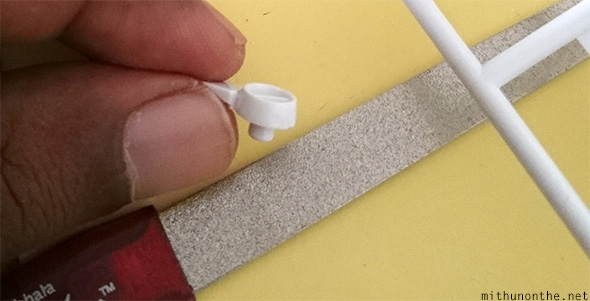
So let’s begin, shall we? The first piece I had to assemble was the thigh part of the Gundam’s leg. The first piece I cut was B29.
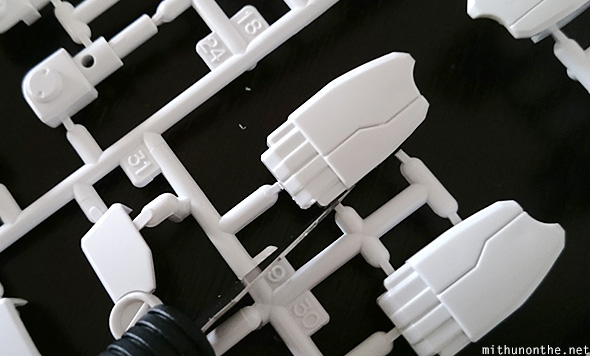
There are two ways to cut. Some suggest cutting right in the middle of the connector and then slicing off the stubs. I on the hand decided to just cut close to the edge itself, but do it very carefully. By the way, I just placed the runner against the dark surface of my wooden table only for taking the above photo. I didn’t actually cut it on my table.
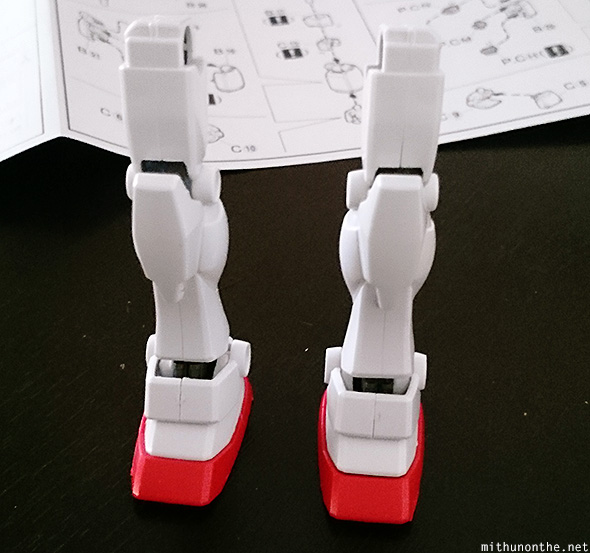
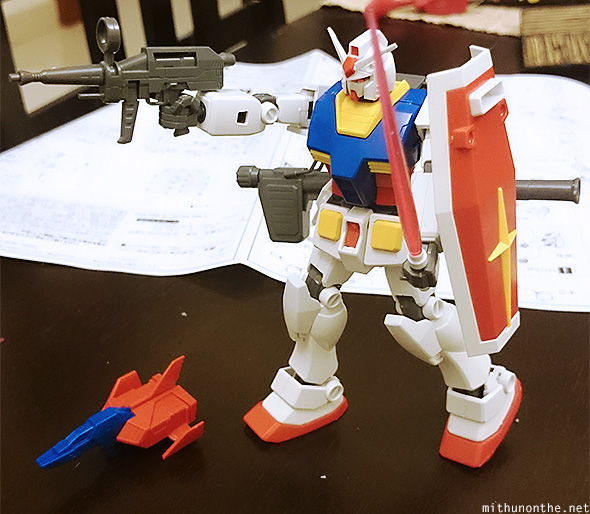
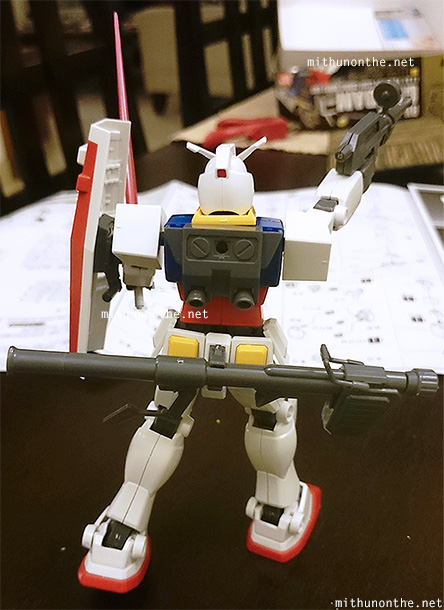

It took nearly 2 hours but I thoroughly enjoyed the experience. It’s been a long time since I assembled something like this. I used to play around with a lot of crafts when I was a school kid but such hobbies gave way to electronic entertainment (video games) and music as I grew older. So it felt good to create something with my own hands — even though the HG series of Gunpla kits are the “entry level” models.
Buying Gunpla model kits are now a certainty for me, if and when I return to Japan. There are some deals to be found online but shipping costs to India make it a deal breaker for me.
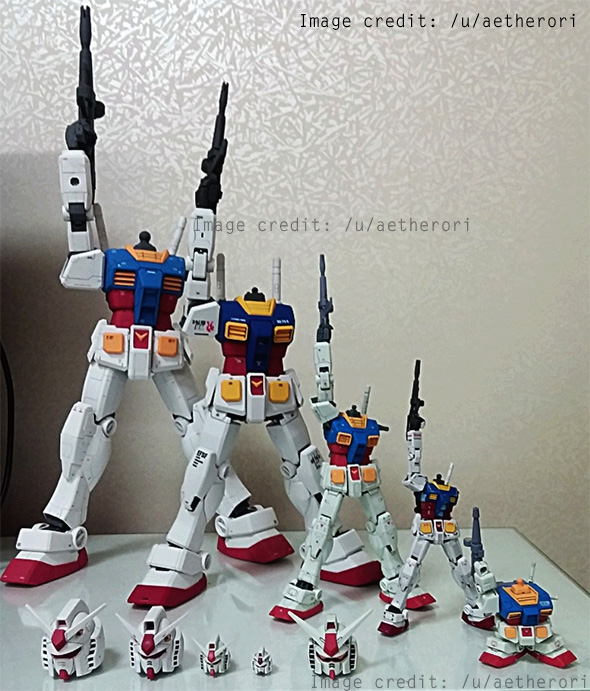
I might move up the kit ladder and pick up an MG (Master Grade, 1/100 scale) or RG (Real Grade, 1/144 scale but better detail) next (size difference between 1/100 and 1/144 scale). Just for a little bit more challenge. For example, the RX-78-2 Gundam model that I bought has an RG variant that looks more detailed and is of better quality — but more than double the price. Then you have HG 1/60 which is High Grade but bigger in size and then ultimate — PG (Perfect Grade) — which looks amazing! There are some other special sizes too, baby size models from the SD (Seed Destiny) range, mega size specials and the really basic First Grade. There’s so much to choose from, but if you are just starting out, begin with the HG range.
Mind you, you can do a lot more to your Gunpla models after you have assembled it. You can paint them, buy accessories, and attach new parts to make your models look better and different. It’s amazing!
In fact, I realized why I saw so many paints and other art accessories sold right beside the model kits. It’s because if you get really good, you can customize or polish up your Gundam models to give it a finish or look like nothing else! Check out the works of some experienced Gunpla modellers at this sub-Reddit.
It may seem intimidating at first but assembling the Gunpla pieces gets easy later. Anyway, I know I’ll get better at assembling Gunpla sets. I just hope this blog posts helps other first time assemblers. If it did, want to leave me tips or if I got something wrong, leave me a comment below! 🙂
Gale
16/07/2015Awesome! It looks tedious though, so I’ll just be contented with your stories. hehe. 😛
cezan
17/07/2015wow, looks interesting and I think it’s a fantastic hobby to have
Jason
20/08/2015SD is Super Deformed 🙂 (Not seed destiny)